1) Setting up Router's EVM Tesnet
import { MetaMaskNetwork } from '../../../src/components/MetaMaskNetwork';
To create cross-chain applications using the Router infrastructure, users will have to build and deploy application contracts on various third-party chains. To simulate an EVM environment for smart contract deployment and interaction, we have created Router's own EVM-compatible Testnet.
Part 1: Adding Router's EVM Testnet
To set up Router's EVM Testnet on your MetaMask wallet, you can use two approaches:
Option 1) Add the Network Manually
Step 1) Log in to your MetaMask wallet and go to Settings.
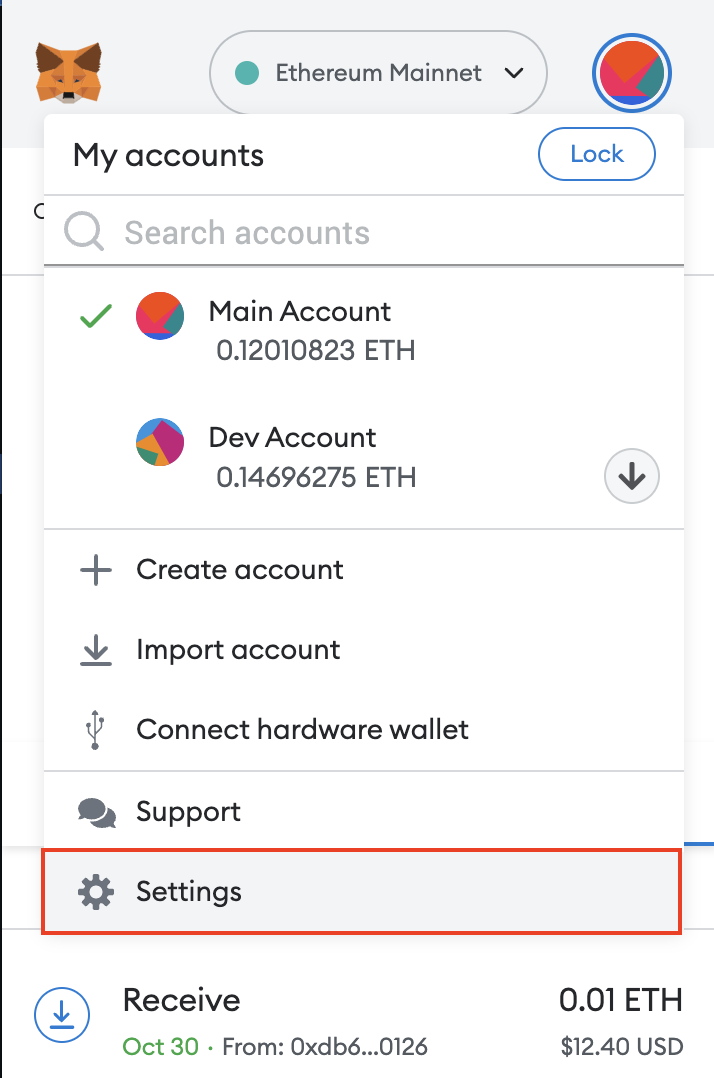
Step 2) Go to Networks > Add Network.
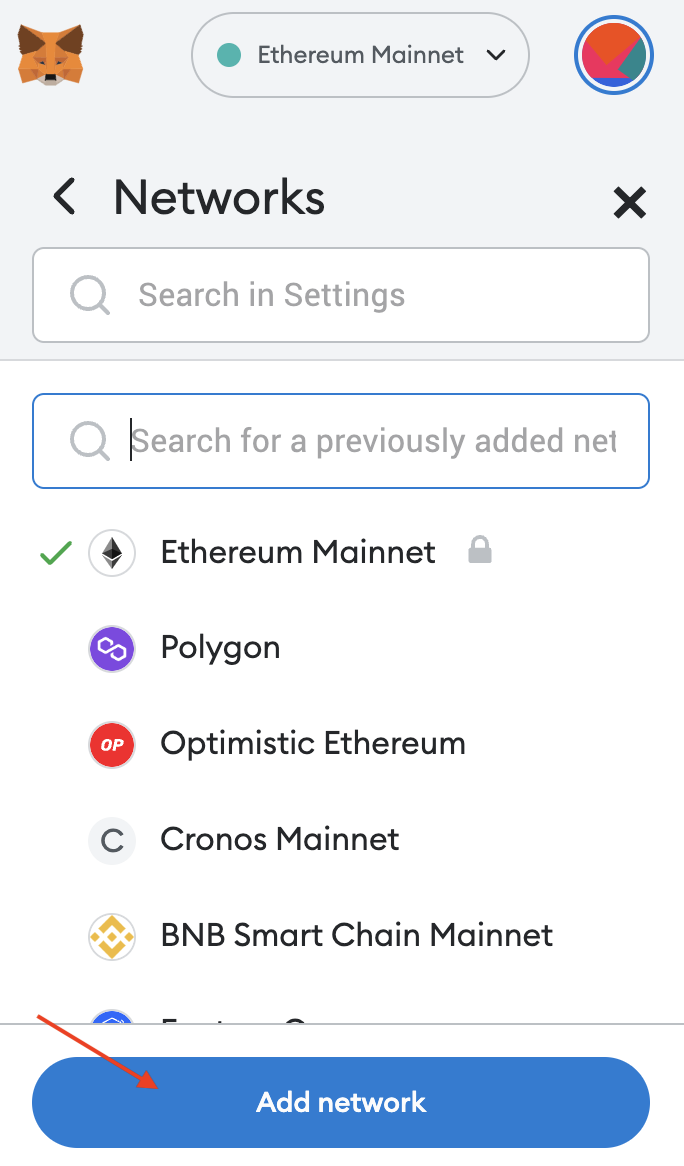
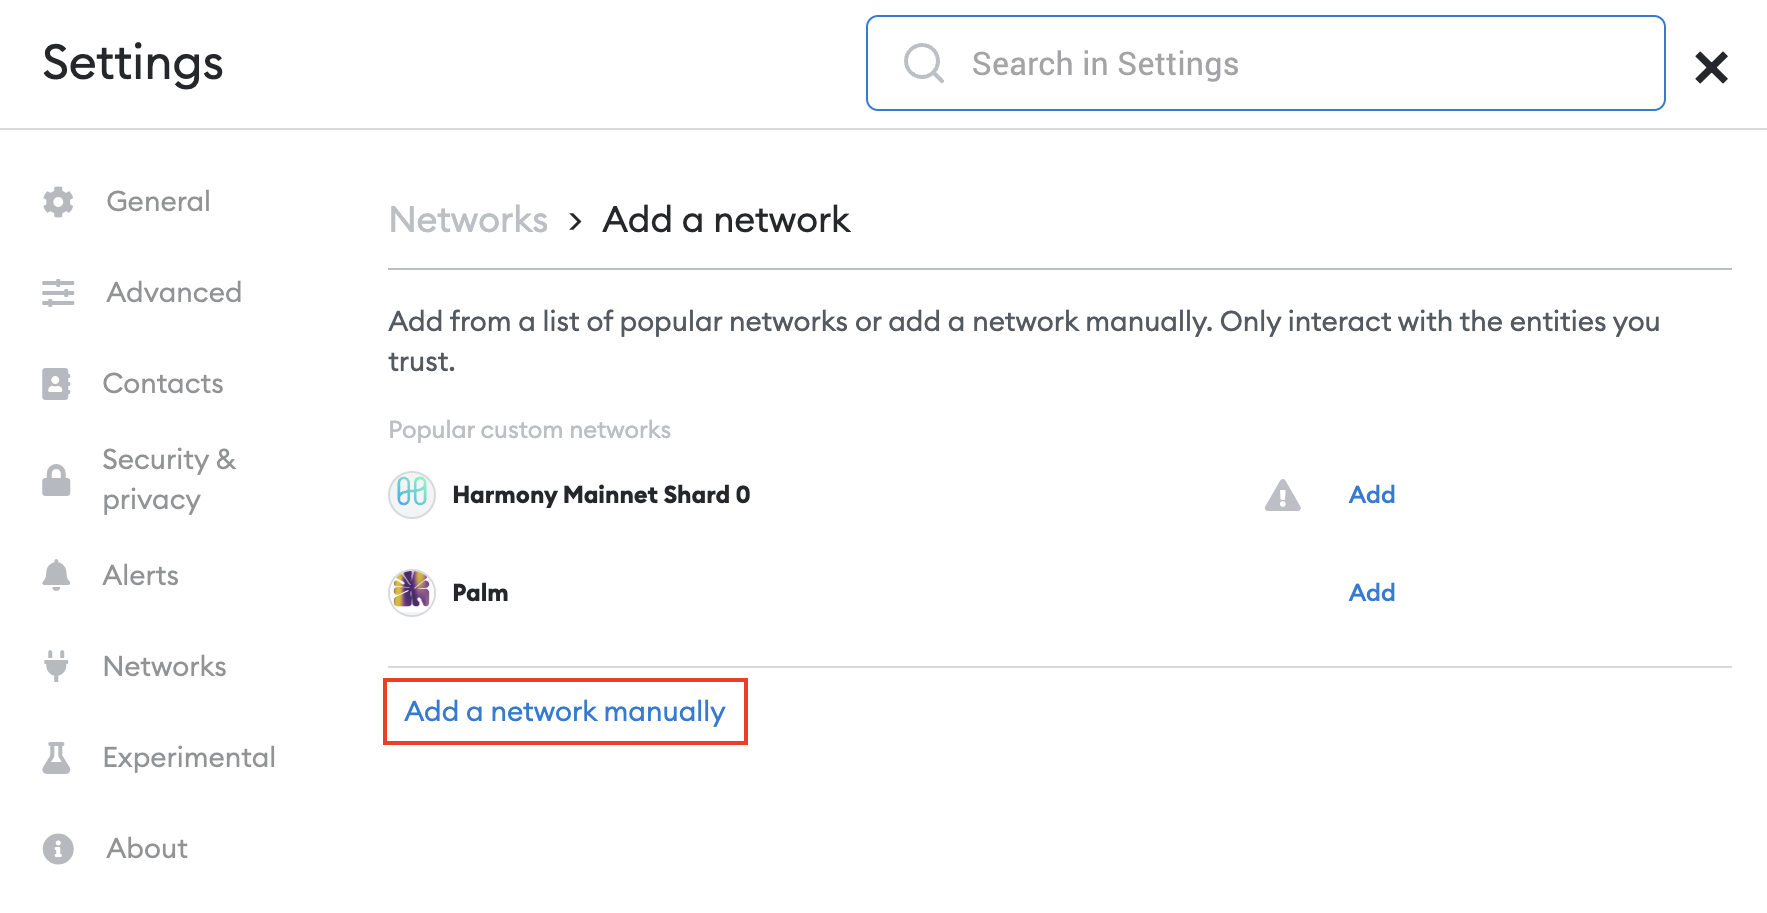
Step 3) Click on Add a network manually.
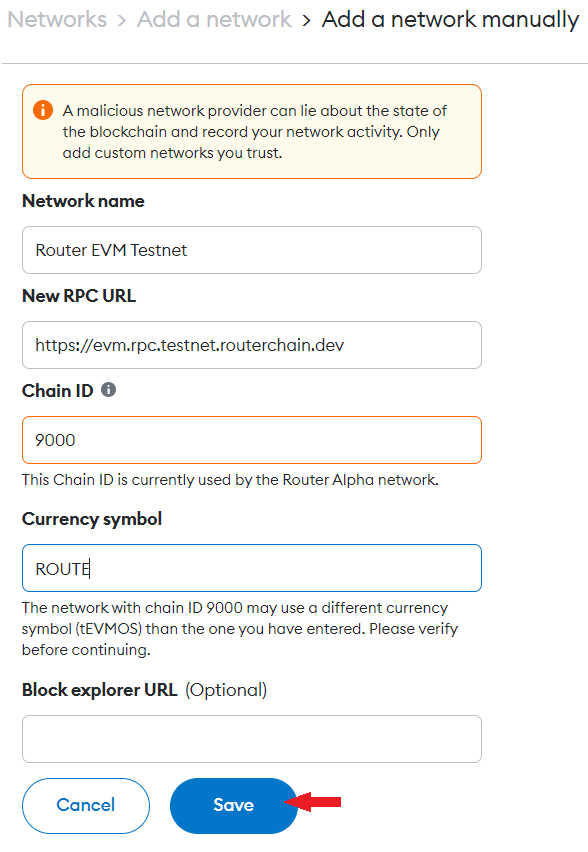
Step 4) Add the following details and click on Save:
| Field | Entry |
|---|---|
| Network name | Router EVM Testnet |
| New RPC URL | https://evm.rpc.testnet.routerchain.dev |
| Chain ID | 9601 |
| Currency Symbol | ROUTE |
Warning: Leave the Block explorer URL blank.
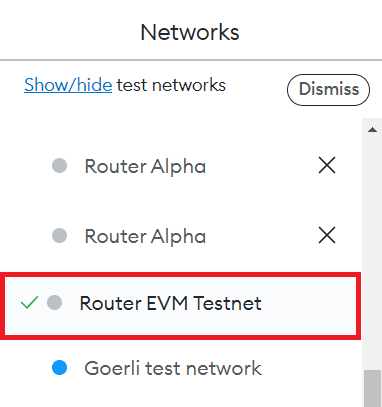
Following the previous step, you should be able to see Router EVM Testnet as one of your networks.
Option 2) Add the Network with a Single Click
Part 2: Importing a Wallet to Interact with the Devnet
Now that we have added our network, it's time to import a wallet to interact with it. To do so, follow these steps:
Step 1) Click on Import Account.
Step 2) Paste the private key given below and click on Import.
{
    PRIVATE_KEY: 982e38580b1d24d1c7de91de112f89f200e09e31395837dfbaf5a62d9fbe44f7
}
Post this step, you should be able to see this account in your MetaMask wallet: 0x33B4A007EcC80Bc99578c18Da07da704c5403236