3) Deploying a Sample Bridge Contract
Part 1: Cloning & Compiling our Bridge Contract
Step 1) Make sure that you have installed all the prerequisites mentioned here.
Step 2) Clone this repository on your system:
git clone https://github.com/router-protocol/routerchain-e2e-tests.git
Step 3) Change the directory to the middleware folder:
cd routerchain-e2e-tests/middleware
Step 4) Run the following command to create an optimized wasm binary:
On Mac/Linux
docker run --rm -v "$(pwd)":/code \
  --mount type=volume,source="$(basename "$(pwd)")_cache",target=/code/target \
  --mount type=volume,source=registry_cache,target=/usr/local/cargo/registry \
  cosmwasm/workspace-optimizer:0.12.6
On an arm64 Machine (e.g. Apple's M1, M2)
docker run --rm -v "$(pwd)":/code \
  --mount type=volume,source="$(basename "$(pwd)")_cache",target=/code/target \
  --mount type=volume,source=registry_cache,target=/usr/local/cargo/registry \
  cosmwasm/workspace-optimizer-arm64:0.12.6
On Windows 10
docker run --rm -v ${pwd}:/code `
  --mount type=volume,source="$("$(Split-Path -Path $pwd -Leaf)")_cache",target=/code/target `
  --mount type=volume,source=registry_cache,target=/usr/local/cargo/registry `
  cosmwasm/rust-optimizer:0.12.6e
Warning: Make sure your Docker is running before initiating the aforementioned command.
Following this command, a new wasm binary will be created under the folder artifacts.
Part 2: Deploying and Instantiating our Bridge Contract
Step 1) To deploy our contract, we first need an account with some gas tokens on the Router chain. Follow the guide given here to set up a working account.
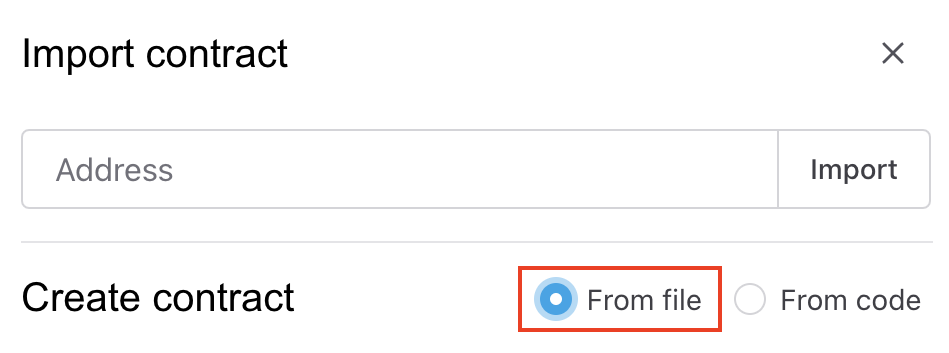
Step 2) Once the wallet is set up and has some funds, go to the Router station and click on Add contract.
Step 3) Choose the From file option and upload your hello_router-aarch64.wasm file.
Warning: You'll find this file in this directory: routerchain-e2e-tests/middleware/artifacts/
Step 4) Add a label and an empty JSON as the instantiation message:
{}
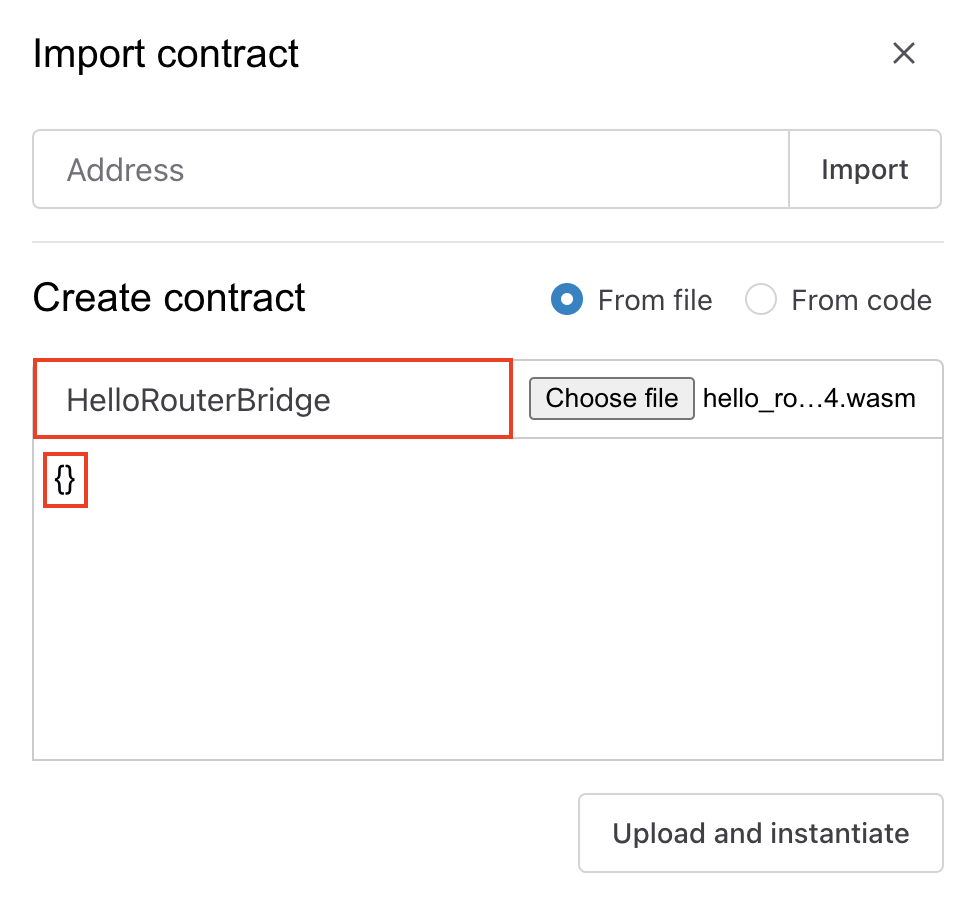
Step 5) Click on the Upload and Instantiate button.
Warning: Please do not cancel/refresh while the contract gets deployed and instantiated.
Following this step, your newly deployed contract will be visible under the Contracts section.
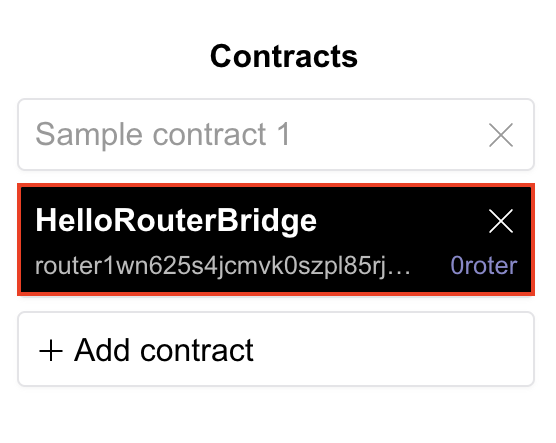
Step 6) Add funds to your newly deployed contract using the devnet faucet.